Blink Sync Module 2 Guide (Module 1 Vs Module 2)
Blink Camera is a one-of-a-kind monitoring device that will change how you keep an eye on things at your home, office, or anywhere else.
Blink has changed home and personal security for more than ten years with its wide range of security cameras. Recently Blink introduced a brand new addition to their family of security cameras – Blink Sync Module 2.
Today we will give you all information about this new device and why this could be the best option for you.
Let’s go…
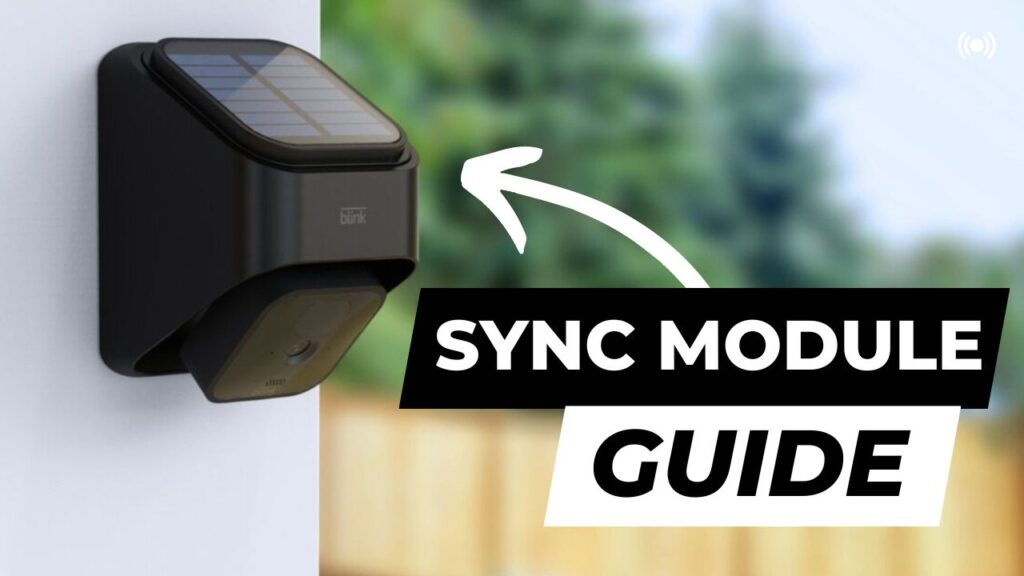
Blink Sync Module 2
The newest addition to the Blink family is the Sync Module 2. Released on the 2nd of January 2021, this new device was brought into the market to solve the previous issue of multiple aggregations.
Previously, all Blink cameras depended on their independent module for functioning. Still, with this new model, anyone can run multiple cameras and coordinate them remotely with just one single module.
This new module acts like a hub for all your Blink cameras and can simultaneously command and operate one or all of them. Additionally, you can store your video files locally by connecting a USB flash drive to a device with up to 256 GB capacity.
Contents of Sync Module 2
As you unbox the new Module 2, you will be greeted with the following:
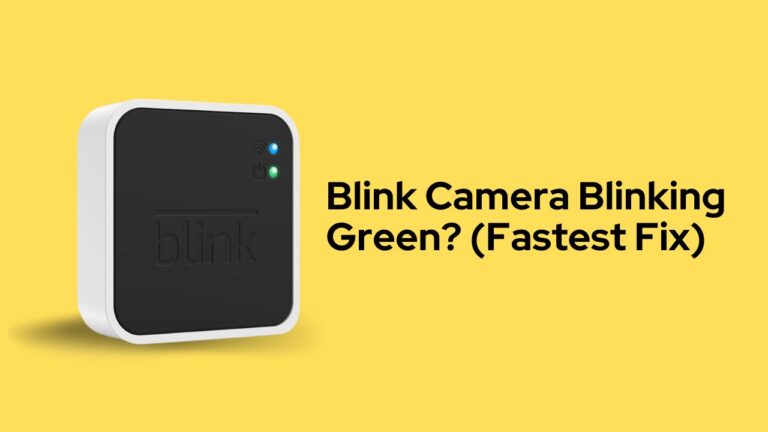
- Sync Module 2 with its ergonomic design, which comes all black with white trims and white side panels. On the face of the device, 2 LED lights indicate power and connectivity.
- A DC-power supply adapter.
- A braided USA-A to Micro-USB Cable, and
- Documentations, like Instruction booklet, owner’s manual, and warranty certificate.
The Sync Module 2 comes with one year warranty(2 years in the EU/UK)
Subscription fees
Sync Module 2 comes with a subscription fee of $10 monthly. You can get unlimited storage with Blink’s Cloud Storage Plan.
You can visit Blink’s official website to learn more about their Annual subscription for Sync Module 2.
Storage Options
Sync Module 2 contains an active Type-A connector where a USB drive between 1 GB and 256 GB can be inserted for local storage.
For “eligible” cameras, which include the Blink Video Doorbell, Outdoor, Indoor (gen 2), and Mini cameras, you can store clips to USB and view them on the Blink app.
There are two methods by which the Sync Module 2 stores clips to USB:
- A once-daily clip backup is kept with a Blink Subscription. Not accessible through the clip list.
- When there isn’t an active subscription, local storage occurs.
- Clips from cameras that qualify are directly stored on the USB device.
- The clip list allows you to see clips from Local Storage.
Prerequisite before Setting up Blink Sync Module 2
It takes a little time to set up the module. But before you get started, bear the following in mind:
Finding a Good Location for the device
Your Sync Module should be as close to an equal distance from each camera as possible.
The best results will be obtained if you can locate a workable location that is equally close to all cameras.
Range of the device
Given its placement, you should be aware of the range you may expect from the module. 100 feet or so is about the maximum range. It should enhance the distance if you put it close to your router.
Therefore, this is not your best option if you put your camera far away, such as on the other side of your property. We advise you to put the device near your router or in the middle of your house.
How to Set up Blink Sync Module 2
Once you have found the best location for your device, let’s go to the actual task- Setting up the device.
To set up your Blink Sync Module 2:
- Firstly, download the Blink app on your smartphone or Tablet. It’s available in both AppleStore and Google Play Store, respectively.
- Open the Blink app on your Tablet or smartphone and go to “Home.”
- Look for the (+) option in the screen’s top-right corner and click on it.
- A list of all available devices will show. In there, select “Blink Wireless Camera System”.
- A pop-up will appear asking permission to check the QR code. Click OK.
- Scan the QR code located on the rear side of the device.
- Set up a name for your device.
- Connect your Sync Module to a power outlet using the adapter and USB A to Micro USB cable, then watch for the unit’s lights to come on. You’re looking for a blue blinking light followed by a solid green light. This denotes the device is adequately powered up.
- Now, in the app, click on “Discover Device”. Here, you can add Blink cameras to the system.
- Next, a pop-up will appear showing your Wifi network. Click on “Connect”.
- Finally, tap “Done.”
And just like that, you have successfully set up the Blink Sync Module 2 with your Wifi.
How to add a module to Blink Sync Module 2
Adding a module means adding a peripheral device to your Module range. In this case, a module means a Blink Camera.
To add a new Blink Module:
- Open the Blink app on your Tablet or smartphone.
- Open the Blink app on your Tablet or smartphone and go to “Home.”
- Look for the (+) option in the screen’s top-right corner and click on it.
- A list of all available devices will show, and in there, select “Blink Wireless Camera System”.
- A pop-up will appear asking permission to check the QR code. Click OK.
- Scan the QR code on the device’s rear side or input the Camera Code alongside the barcode.
- Look for the solid green light, which indicates that your device is ready to connect.
- Now, in the app, click on “Discover Device”.
- Select the camera of your choice and click Done.
And that’s how you add a new module to the system.
How to remove a module to Blink Sync Module 2
You can instantly eliminate a specific module from your system if you want to use fewer cameras and no longer require it. To do so:
- Launch the Blink app.
- Click settings.
- When you get to System Settings, scroll down and choose the system that contains the particular module you wish to get rid of.
- Hit the Sync Module button.
- Select Delete Sync Module.
How to Reset Blink Sync Module 2
Your sync modules need to be reset at some time if they malfunction or stop appearing in the app.
Simply unplugging it from the power and plugging it back in will reset it. That ought to restart it.
You can try using the reset button if this method doesn’t work.
Next to the flash drive’s USB port is the hard factory reset button. You should see a flashing red light, a flashing blue light, and eventually a solid green light if you hold it down for 5 seconds. To activate the button, you’ll need a paper clip, or your fingernail will do the job too.
What do Blink Sync Module Lights Means?
The Blink Sync Module 2 exhibits 4 distinct lights when functional, and here’s what each one of them means…
Blinking Green → The Device is not connected to a proper internet/ wifi connection.
Solid Red → No Internet Connection. Check your Wifi.
Blinking Blue → Poor Signal strength.
Solid Blue → After resetting, your device is now prepared to connect to your network.
Blink Sync Module 1 Vs 2, what’s best for me?
There’s no significant difference between the two modules of Blink 1 and 2. The later version was released a few months later, so it’s equipped with better software integration that helps it connect with available networks faster.
The USB driver has also been updated to enjoy faster data sharing via USB. Plus, Local storage is added by Module 2 to the USB connector for flash drives.
So, considering all these points.
One should go for the Blink Sync Module 2 over Module 1 for its performance, connectivity, and overall value for money.
`


![[Fixed] Does Blink Work With Ring? How to Make it Work.](https://automationhandyman.com/wp-content/uploads/2023/01/Does-Blink-Work-With-Ring-768x432.jpg)