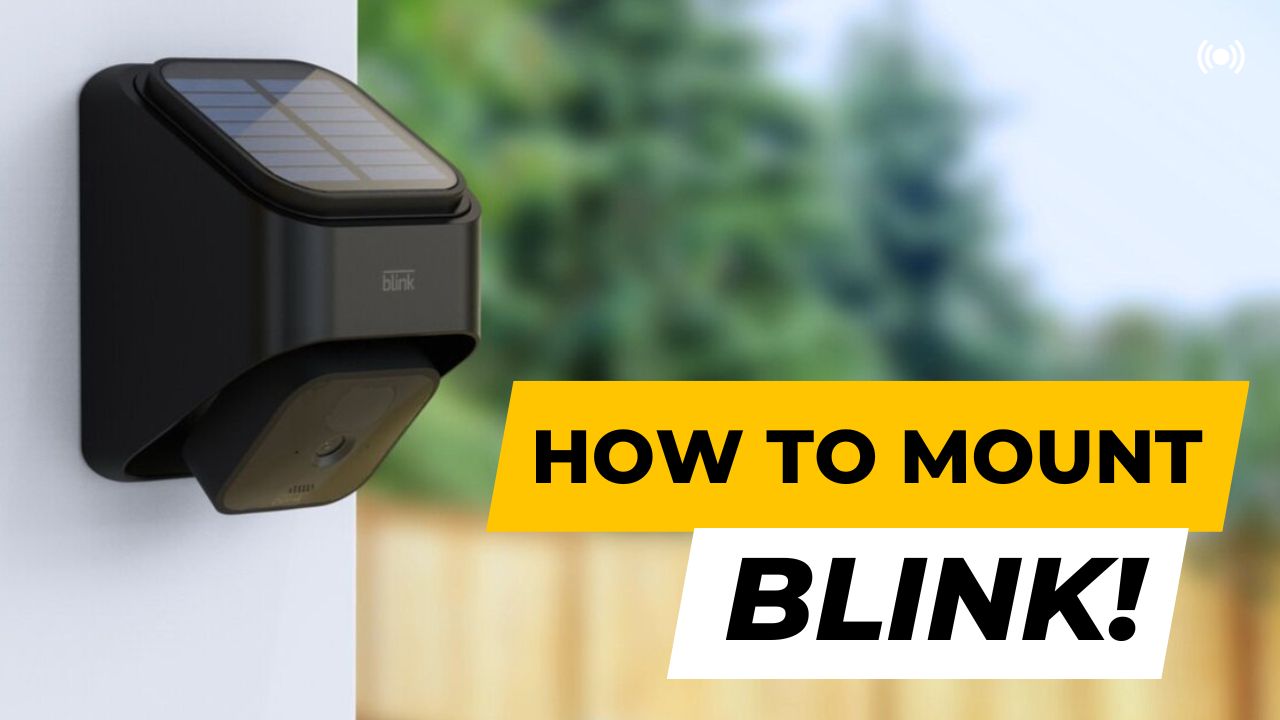
How To Mount Blink Outdoor Camera In minutes (Easiest Way)
Blink has been a go-to name in the world of personal security cameras. With their seamless connectivity, live video-sharing, active motion detection, and low prices, they have won the hearts of many homeowners and corporate personnel.
A Blink Camera can replace any conventional, bulky CCTV camera and offer a better recording and live video experience than its counterparts.
So, if you have recently purchased a Blink Camera and are fixating on how and where to mount it, we’re here to help. This article will give you a detailed walkthrough of all the dos and don’ts so you can enjoy your new purchase.
Let’s begin…
Get to know your Blink device.
A standard Blink Indoor/ Outdoor Camera comes with the following:
- The device – Blink Camera,
- Mounting Screws,
- A Volcano Mount that matches the color of your device, and
- a right-angle adapter/opening tool
On the other hand, a Blink XT Camera comes with the following:
- The device – Blink XT Camera
- A mounting bracket made from high-quality plastic, and
- A singular Screw.
Prerequisite for mounting your Blink Camera
Before you jump head-first into mounting your device, it’s better if you take these few precautionary checks.
Pick the right surface
The surface on which the device is mounted should have a solid build. Concrete walls, reinforced Wooden Walls, and any similar material will be the best surface to mount your device.
On the other hand, surfaces like Plywood or Glass might not be optimal. Yes, they will work, too, but glass is too fragile, and Plywood is not as sturdy as Wood or Concrete Walls.
The Mounting Brackets and Screws are supplied inside the box.
Although there are like one in ten thousand chances of this happening. Yet, sometimes broken mounting brackets and rusted screws end up in a brand new Blink Indoor/ Outdoor or Blink XT Camera box.
So, please check the mounting brackets and screws before you pick up any tools.
Once you have checked these things, and if everything seems fine, you can move on to the next step – Mounting the Camera.
Mounting a Blink Indoor/ Outdoor Camera
The Blink Indoor/ Outdoor Camera is easy to mount and requires no special tools. You will not require any power tools for this process; you only need a Philips Head screwdriver.
The right-angle adapter/opening tool and “volcano” cone-shaped camera mount that matches the colour of your camera body is included with your Blink camera.
Also, inside the box, there are mounting screws.
Checking the Location of your Blink device
You need to know or figure out an optimal location for the Camera before you start screwing holes all over your wall.
You can check the viewing angles of a stop with the live camera view. To do so:
- Open the Blink app on your smartphone or tablet.
- Refresh the camera thumbnail or click on live view.
- From the Blink app’s camera settings tab, check connectivity.
- Ensure that the Sync Module and your Wi-Fi network are connected with three bars at your selected Location.
- Turn the camera left or right to check if you can get a better viewing angle.
- Once you have found a stop mark with an X on it with a marker.
NOTE: The best motion detection happens when movement crosses the field of view, so keep that in mind. Moving straight in front of the Camera can make it more difficult to detect movement.
Your camera settings will work best if placed correctly, overlooking a wider angle.
To Mount Blink Vertically
The Camera can be connected straight to the volcanic mount for vertical mounting on a wall or post.
- Firstly, the faster the volcano mount on the back side of your Camera, grooves on the mount make things easier.
- Mount the Camera at the marked area and screw it tightly on the Wall/ Surface.
- After mounting your Camera, use the Blink app to produce a thumbnail or enter Live View to determine whether the camera view is appropriate or needs to be altered.
To Mount Blink Horizontally
For Horizontal locations such as Ceilings or Shelves, you need to use the right-angle adapter tool.
- Faten the Right-angle adapter tool on the back side of your device. It also got grooves that help secure a tight connection.
- Faten the loop on the right-angle tool with the Volcano mount.
- Mount the Camera at the marked area and screw it tightly on the Wall/ Surface.
- After mounting your Camera, use the Blink app to produce a thumbnail or enter Live View to determine whether the camera view is appropriate or needs to be altered.
And, just like that, you have successfully mounted your Blink Indoor/ Outdoor camera.
How to Mount a Blink XT Camera
Mounting the Blink XT camera to a surface is even easier as the setup comes with only one adjustable mounting bracket. The bracket has a flexible hinge that can help it keep Vertical, Horizontal, or at specific angles.
To mount the Blink XT Camera:
- Firstly, fasten the mounting bracket on the back side of your Camera. There are grooves present on the mount that make things easier.
- Mount the Camera at the marked area and screw it tightly on the Wall/ Surface or Ceiling.
- Adjust the angle of the bracket if needed and tighten the screw.
- After mounting your Camera, use the Blink app to produce a thumbnail or enter Live View to determine whether the camera view is appropriate or needs to be altered.
And just like that, you have successfully mounted your Blink XT Camera.
Following the installation of your Blink XT camera, follow these helpful hints:
- When batteries need to be changed, the word “REPLACE” will appear beneath the Camera’s settings. A small red battery meter will also appear above the camera thumbnail.
- You can enable battery notifications to receive alerts when a camera’s batteries are running low.
- The Camera can be taken off of the mounting bracket. By doing this, you may remove the mount once it is attached, or your Blink XT camera is mounted outside and remove it to change the batteries.
How to remove a mounted Blink Camera?
In case you need even to remove your Blink Camera. Hold the mount stationary, and pull the bottom of the Camera away from the mount to remove it.
Do not be scared to remove the Camera from the mounting bracket because the mount fits quite firmly, keeping your Camera safe and secure.
Where can I buy mounts and screws for my Blink Camera if the box’s contents are damaged?
Mounting screws for both Blink Indoor/ Outdoor Camera and Blink XT are available on Amazon.
As per screws, you can go to a hardware store and buy similar-sized Phillips-head screws.
Can I use a nail instead of a Screw to mount the Camera?
Yes, you can, but we recommend not to.
Nails do not have any grooves like screws do, so they are harder to mount on the surface plus, you will need heavy tools like hammers. One missed swing, and you can damage your device or injure yourself.
Screws are a much safer option. Plus, nails loosen up over time and rust faster than screws.