Samsung TV Blinking Red Light (What it Means & How to Fix It!)
A few days ago, a reader approached me with her issue – “Samsung TV Blinking Red Light”.
The TV was her first big investment after she got a new job, and she didn’t know what to do. Thus, being the geek I am, I started looking for answers.
And after searching for hours on the internet and user manuals, here’s what I found out.
Samsung TV Blinking Red Light
The Red or emergency light is triggered when the Smausng TV faces one or three issues.
Connectivity Issues
There is something wrong with the cables and connectors of the setup.
In severe cases, connectivity issues can also be triggered by bad components, poor Wifi signals and virus/ malware attacks.
Recovery Issues
Usually triggered by software updates or a hard reset.
It happens when the device can’t sync with the whole setup. Software bugs, the need for an update, or simply the unpredictable and finicky character of technology could all be to blame.
Component Issues
Caused mainly by faulty internals.
This typically occurs because your TV experienced an electrical spike that shorts out a component. The components that usually cause this issue are:
- Power Cables.
- Power Outlets.
- Capacitors in the motherboard.
- LED Backlights
- A surge protector, etc.
In today’s article, I will give you all instructions via which you can tackle all of these issues individually.
Read this article till the very end to find out more.
Restart Samsung TV
The first step to getting rid of Connectivity Issues is power cycling the Samsung TV.
To do so:
- Switch off your Samsung TV.
- Remove the TV plug from the electrical socket. Wait for a minute.
- Plug the TV back into the socket.
- Turn on your Samsung TV.
Alternatively,
- Switch off your Samsung TV.
- Remove the TV plug from the electrical socket.
- Press the power button, and wait until all the static charge is dissipated. It should not take more than 1 minute.
- Plug the TV back into the socket.
- Turn on your Samsung TV
Turn off Anynet+ on Samsung TV
Anynet+ is an integrated feature in Samsung Tv that helps it stay connected with nearby devices via wired connections.
This integration helps peripheral devices to connect with the Samsung TV via the HDMI Cable.
Sometimes the Anynet+ settings are turned on by default which causes it to interfere with the booting function and causes the red light to blink.
To fix this:
- Switch on your Samsung TV.
- With the remote, go to “Settings”.
- In “Settings”, go to “General”.
- Under “General”, select “External Device Manager”. A list of all external devices will show up on your screen.
- Select “Anynet+”.
- Turn Anynet+ off.
- Go back to the home screen.
- Restart the TV.
Turning off the Anynet+ feature with resolve all recovery and connectivity issues.
Check the Power and HDMI Cable.
Begin by checking the power chords.
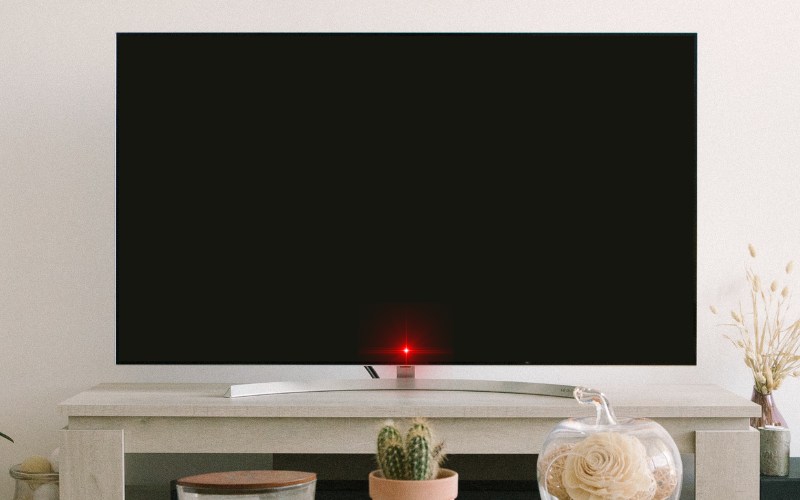
When you connect the Samsung TV with the output, ensure the standby indicator is turned on. If it isn’t, make sure to reconnect it correctly. Alternatively, you can use a separate power outlet.
Then, using a laptop or PC, inspect the HMDI cable. Simply insert the Cable into the socket and check to see if any output is noticed. If not, replace the cable and attempt again.
Check that all connections are tight and the wires are in proper condition.
Check the Power Outlet and Surge Protector
The next step is to check the Power Outlet and the Surge protector.
Simply plug in any other device in the same power outlet the Samsung TV was plugged into and check if it’s charging properly or not.
Also, check the surge protector fuse. If the fuse is intact, something is wrong with the device’s internals. Alternatively, if the fuse is melted, there must be a power surge.
In such a case, simply use a new fuse, and the outlet will work like new.
Check for Sorted Internal Components.
Usually, I don’t advise my readers to perform internal checkups on their devices because there are a lot of micro components on there that can be easily damaged with house tools. However, in this case, I will try a different approach.
To get started, you will need the following:
- A Voltameter.
- A set of tweezers.
- A tester(optional).
- Philips-head screwdriver.
To perform an internal check:
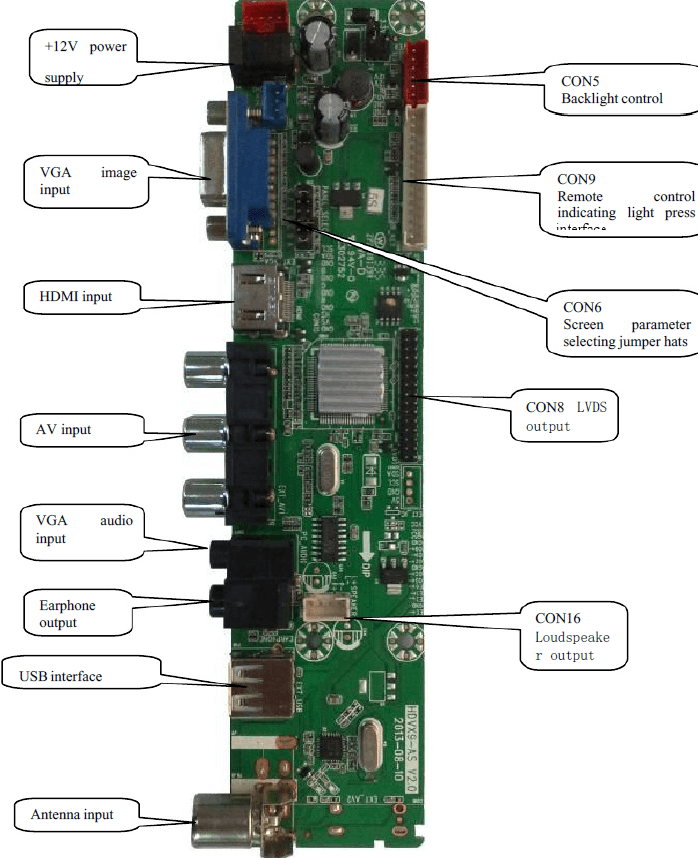
- Turn off your TV.
- Unplug it from the power cable and remove the back panel using a Philips head screwdriver.
- Take the red wire of the voltmeter and start checking every individual component.
- Firstly check the power cable.
- Then move to the power feeder and then to the capacitors.
- Also, check the LED Backlights.
- When sorted, the capacitors turn brown and wrinkled. On the other hand, sorted LEDs can be easily identified by burn marks on the LED strip.
If you have hands-on experience with soldering only and only then try to replace any capacitor or LED panel. Otherwise, simply check the internals using the voltmeter, find out the sorted component and report it to an expert who will fix it for you.
Otherwise, call Samsung customer care at 1(800) 726-7864 and book a session with them.